 by Jake |
Last Updated: August 18, 2021
by Jake |
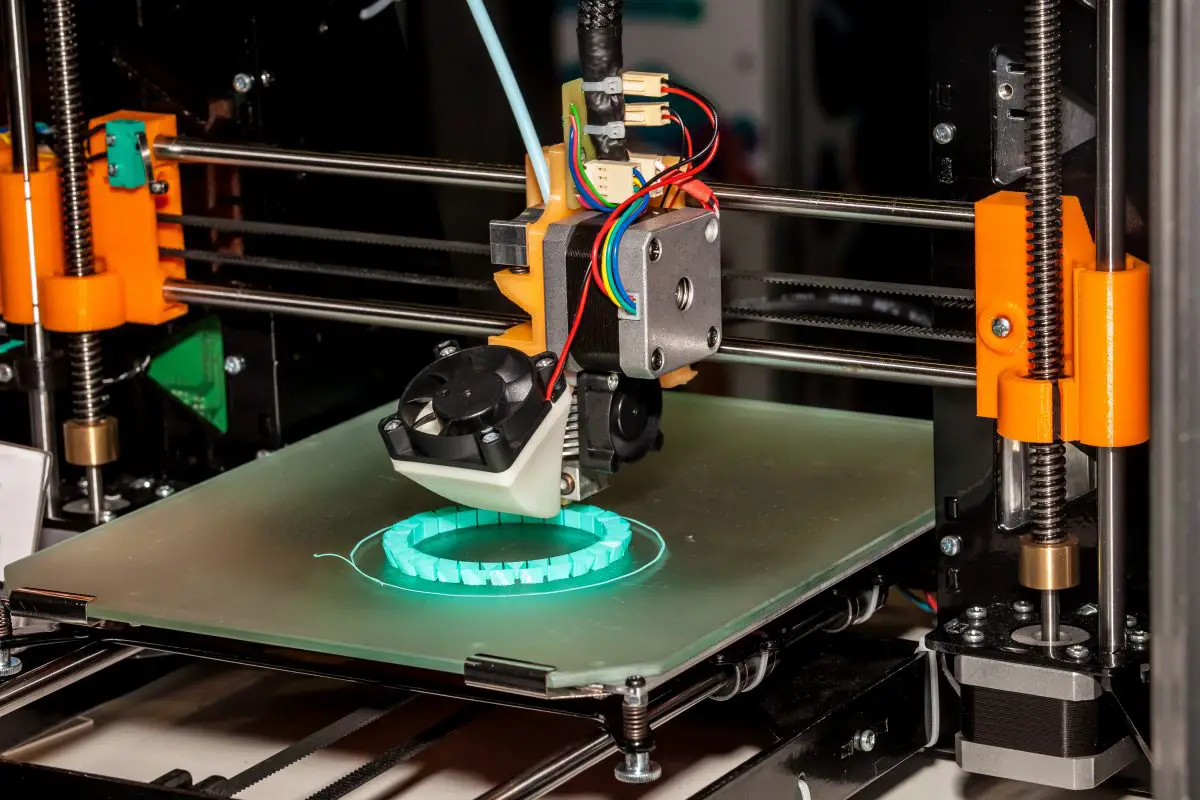
Last Updated: August 18, 2021 Maintaining a clean printing bed is key in having your prints turn out correctly. Whether you’re using a magnetic bed, glass bed, pei sheet, or even adhesive tape, we must all learn how to clean our 3D printer bed (unless you love those failed spaghetti prints!)
Make sure you check your 3D printer bed after each print for any bits of plastic, especially if you have your printer programmed to purge the nozzle first. This doesn’t have to be anything strenuous or some in-depth cleaning routine, a simple once-over check will do.
If you continue on you’ll see I have compiled a list on how to clean 3D printer bed and the most useful tactics to accomplish this task.
This will be useful for beginners, intermediate, and maybe even some printing veterans! Let’s dive in.
Why Clean the 3D Printer Bed?
Whether you’re a printing vet or a beginner, you’ve likely experienced a failed print. In fact, I know so. So you know the pain of coming back to a print some 8 hours later and you have a layer shift and a big pile of what looks like spaghetti.
There’s a good chance this can happen due to an adhesion problem due to a dirty print bed. This happens when there are leftover bits from the last print and they compile from the print before last and the print before that one and I think you get the point.
So what causes this adhesion problem? It could be a number of things. Most likely it can be the oil from your fingers from removing a print, the nozzle being too close and the filament smooshing too well to the bed, or even just little bits compiled over time like I previously mentioned. These aren’t the only reasons, but the most common.
If a printer is used frequently, deposits can form on the print bed. This is especially true if you heat it. If you set the temperature relatively high, the filament can stick to the surface.
For these reasons listed above, you will want to fix the issue immediately before printing.
Many questions with one lightbulb on a blue background

Cleaning 3D Printer Bed – Best Methods
When cleaning your 3D printer bed, you must be careful with what cleaning agents you use, and the amount of force applied to remove filament build-up, oils, ect.
In order to properly clean your print bed you may want to read up on the operating instructions. in case there’s anything special you should be aware of that I don’t cover here. That being said, our instructions are quite clear, and shouldn’t impose any issues.
Below I will cover a few methods. There are several methods out there on how to clean a 3D printer bed, however, most of them I would not recommend as it could impose other risks instead of the ones I mention.
How to Clean a 3D Printer Bed
Below we will cover my two favorite methods for getting your 3D printer bed as clean as it gets!
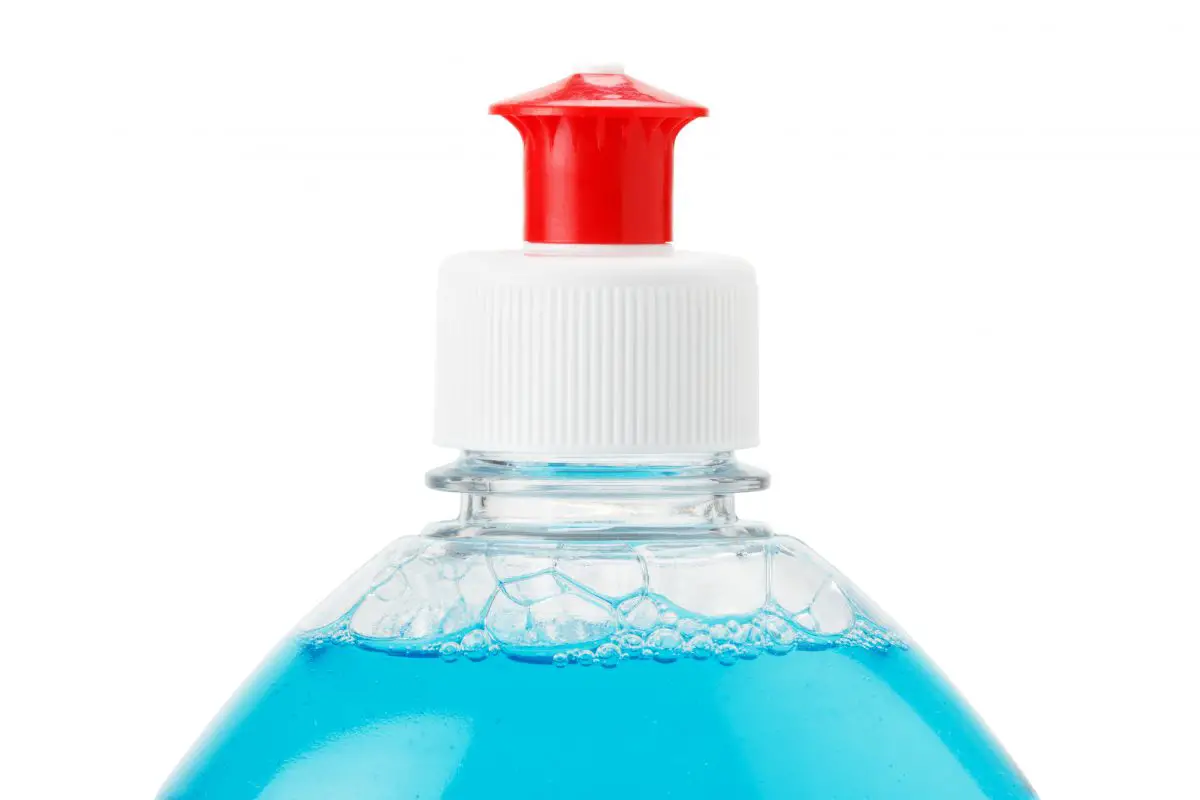
Trusty Dishsoap and Water
It’s important your bed is not hot during this cleaning process.
If your glass bed is a bit dusty or dirty and you’re looking to remove perhaps finger oils, you can remove this with some dish soap, water, and a damp cloth or paper towel. I wouldn’t recommend a sponge, but in the off-chance, you use one, be sure NOT to scrub too hard and use the non-rough side.
Are there other cleaning solutions you could use? Of course! But why? Stick to the tried and true.
Isopropyl Alcohol to Clean 3D Printer Bed
Just like using soap and water, you will want to make sure your bed is not hot when using isopropyl alcohol.
I would advise using isopropyl alcohol that’s rated at least 70-80% and higher. This will help reduce streaks as well. isopropyl alcohol evaporates pretty quickly and can cause streaking on a glass bed if you don’t scrub appropriately with your paper towel / microfiber cloth.
You can use a paper towel or one step better a micro-fiber cloth and applying a small amount of Isopropyl to it. You can always use more later, it’s best to start off with less until you know how it works.
Once applied, work it in a circular motion as if you were cleaning a window. This can be applied both for magnetic beds or a glass bed and the like.
In addition, isopropyl alcohol can get rid of any tape residues if you are a believer in using tape or even hair spray residue. Although, both will require some elbow grease!
Just make sure you don’t apply too much force to the bed as you could ruin it whether that be bending or breaking something on the bed, creasing a magnetic bed, or even cracking a glass plate.
What I don’t Believe in Using
Some advise using glass cleaner, acetone, break cleaner, and all sorts of other methods that I don’t believe in using. These two are the tried and true methods and you shouldn’t need much else.
How Often Should I Clean the 3D Printer Bed?

To maintain the best printing results from your 3D printer it’s best to try to clean it at regular intervals. If you know you use it quite often, try to clean it every few days or at least once a week. If you have a print fail, perhaps check to make sure it’s not a dirty oily bed.
My advice is until you are seasoned enough to troubleshoot failed prints, always clean your print bed after a failed print. This not only rules that out as being the cause of the issue, but it also ensures you will have great bed adhesion for future prints.
My 3D Print Bed Isn’t That Dirty
If it’s visibly dirty, do yourself a favor and take the 2-5 minutes to clean it. You’ll thank yourself later!
If you have multiple printers, printing a lot, own pets, or just haven’t printed in a long time, dust may have accumulated on your printer.
It’s best again to give it a good cleaning in order to guarantee a good adhesion on the first few layers of your print. In the case that it’s not too dirty, you can go ahead and use some soap and water if you don’t feel like taking out the isopropyl alcohol.
My Prints not Sticking and I cleaned my 3D printer Bed
Some clues to look for bad adhesion issues is first looking to see if your magnetic bed/glass plate looks dirty or oily. Check to make sure there are no bits of plastic still stuck to the bed.
Gently use a scraper (most printers come with this already) and get any bits left on your bed off. A Glass scraper can be sharp and should be used with caution
If your printer is not getting a good “smoosh” or first few layers, your nozzle may not be close enough to the bed surface or the bed might not be level.
Yes, this is the comical reply “did you check to make sure the beds-level” but hey, it took us all quite some time to master leveling the bed.
Perhaps the bed is warped. If this happens you should contact the manufacturer immediately and see if they can send you a replacement.
Check to see what the recommended bed temperature for your printer is. Some do not heat up, and others for instance the Ender 3 Pro when using PLA should be heated up to about 60 °C. If using PETG you may need 70 °C – 80 °C
Should I Use Hair Spray, Glue Sticks, or Tape?
The short answer is no. Some people SWARE this works. A thin layer of hair spray or a glue stick. I’m totally against it. I’ve even tested these in the beginning stages of my printing endeavors and while some do mildly work..
you are left with a huge sticky mess of hair spray or glue residue. Even worse, is it’s honestly not needed. You shouldn’t need any of these if your bed is correctly leveled.
Should I use another cleaning solution or rubbing alcohol? The answer is still no.
If you have a warped bed, buying a glass bed can sometimes fix this as it’s a flat stiff surface.
However, you may do as you please, but don’t say I didn’t warn you.
Glass Plate
I get asked all the time what I use. Personally, I use a glass plate / glass print bed as I find it helps with any 3D printer that already has a warped bed.
It also creates a smooth bottom surface and who doesn’t like a silky smooth bottom? All jokes aside, I find it the best to print with.
It does require you to sometimes wait for the print to cool or you can sometimes get lucky and pop the print off even if the bed hasn’t fully cooled, but I wouldn’t recommend it. Some sware by a razor blade for this, but two things, one you can scrape your glass bed, and two you can most definitely cut yourself. Two things you definitely do not want to do!
Cleaning my 3D Print Bed
So should you clean your 3D print bed? If you answered no, you don’t deserve a 3D printer! All jokes aside, you should understand now the importance of cleaning your 3D print bed and how to clean it.
Whether it’s a glass bed, magnetic bed, ect it will need to be cleaned eventually.
It’s not very complicated either, yet it plays a vital role in the longevity of your printer and yielding the best results. Should you have any problems, feel free to reach out to us!
Recommended Reading
Ender 3 Change Filament- Step-by-Step Guide
No matter which 3D printer you have though, one thing you need to learn as a 3D printer owner is how to change the filament.
3D Printing Service, is it Worth it?
What is a 3D Printing Service? 3D printing services serve the purpose of helping you print anything that you like with professional input.
Extruder Calibration – is it Worth it?
You might think it's a hassle to do extruder calibrations. But what if we tell you this process has vital benefits for your printing performance?
PETG vs PLA Filament: What’s the Difference?
What are the main advantages and disadvantages when it comes to PETG vs PLA filament? Let's jump into it!!
The Best 3D Printer For Miniatures
3d Printers are great for printing miniatures. Read on and we’ll walk you through our 3D printer reviews and pick out the best 3d printer for miniatures.
Best D&D Battle Mat – Which One to Buy?
Get those dice ready to roll and take your adventure to the next level with these incredible battle mats to truly turn your dreams into a reality