 by Jake |
Last Updated: July 20, 2021
by Jake |
Last Updated: July 20, 2021 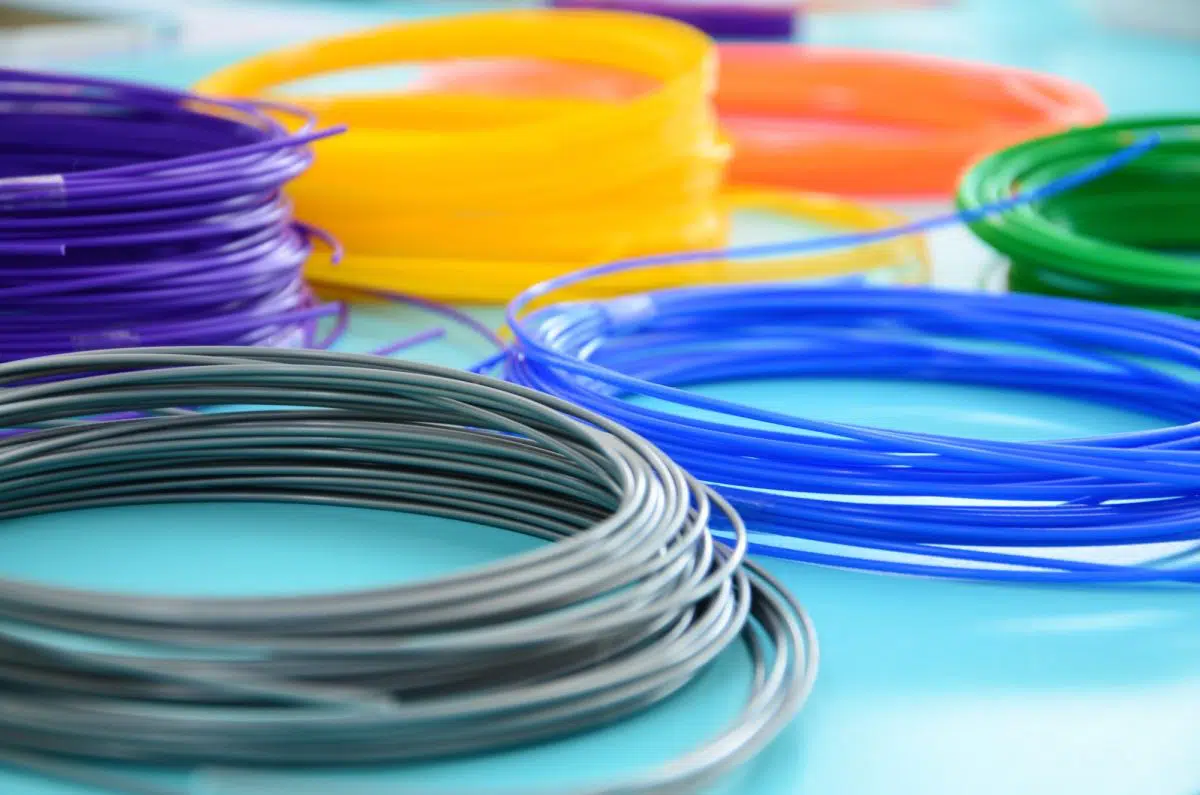
The Ender 3 is a 3D printer built by Creality that allows enthusiasts and pro users to customize their 3D printing needs at an affordable rate. Over the years, it was so successful in fact that a new line of 3D printers was released preceding this.
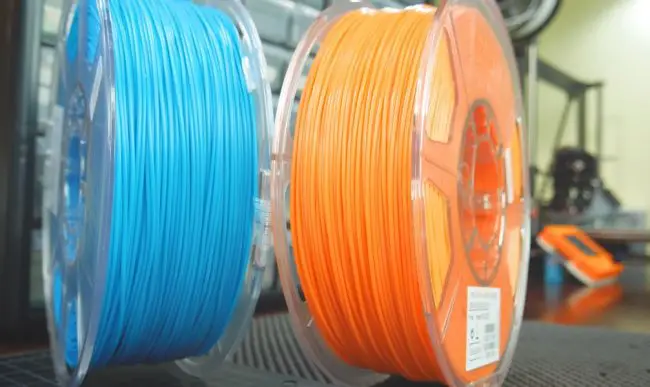
No matter which 3D printer you have though – whether it is the Ender 3, Ender 3 V2, the Ender 3 Pro model, or even another brand entirely, one thing you need to learn as a 3D printer owner is how to change the filament.
It’s one of those not so fun jobs that you will have to do more than once. The filament you have remaining may run out in the middle of a job, snapped during a previous job, or it’s just ready to change filament due to an empty roll!
Even among the pros, changing filament is considered a tedious task because of how much time it takes before you can start printing.
However, you shouldn’t continue using a filament that has been damaged or if you’re at the end of the filament don’t risk it, trust me, you will run out before your prints are done and you’ll be upset you didn’t just change the filament out instead of trying to save a few pennies worth of material. Always take the time to swap out the old filament, empty what’s in the extruder, and then spool the new material in.
How to change Ender 3 filament for a 3D printer
Step 1 – Removing the old filament
Before you move on to changing the filament, remove the filament that is already loaded.
- The first step is to switch on the Ender 3 and then visit the control menu. Browse this settings menu to find the “Temperature” button (located under control settings) and from there click on the “Nozzle” setting.
- Using the control knob displayed on the Ender 3 screen, turn the dial to increase the temperature. You need to make it hot enough for the énd of the material in the extruder to melt.
- Ideally, you should set the nozzle temperature as close to 200 degrees as possible to ensure that it melts. Once you have set the temperature, simply click and wait until the hot end has appropriately heated up to the correct temperature.
- By following this method, you are only increasing the heat of the extruder nozzle while keeping the bed safe from the heat.
- When it is completely heated, press down on the lever of the extruder. While still holding onto the lever use your other hand to push the filament that’s already fed into the extruder so that some comes out of the nozzle. This will make it easier to pull the filament out from my experience. You can then remove the old filament and subsequently the spool.
- Remember, don’t pull the material out before the nozzle has fully heated. You can seriously damage the extruder nozzle by forcefully trying to pull it out. When heated, the old filament will easily slide out from the Ender 3 printer by using the steps mentioned in the previous bullet point.
- If you are using the newer version of the Ender – Ender 3 V2, there is a separate knob you can rotate to take out the filament instead of the above method.
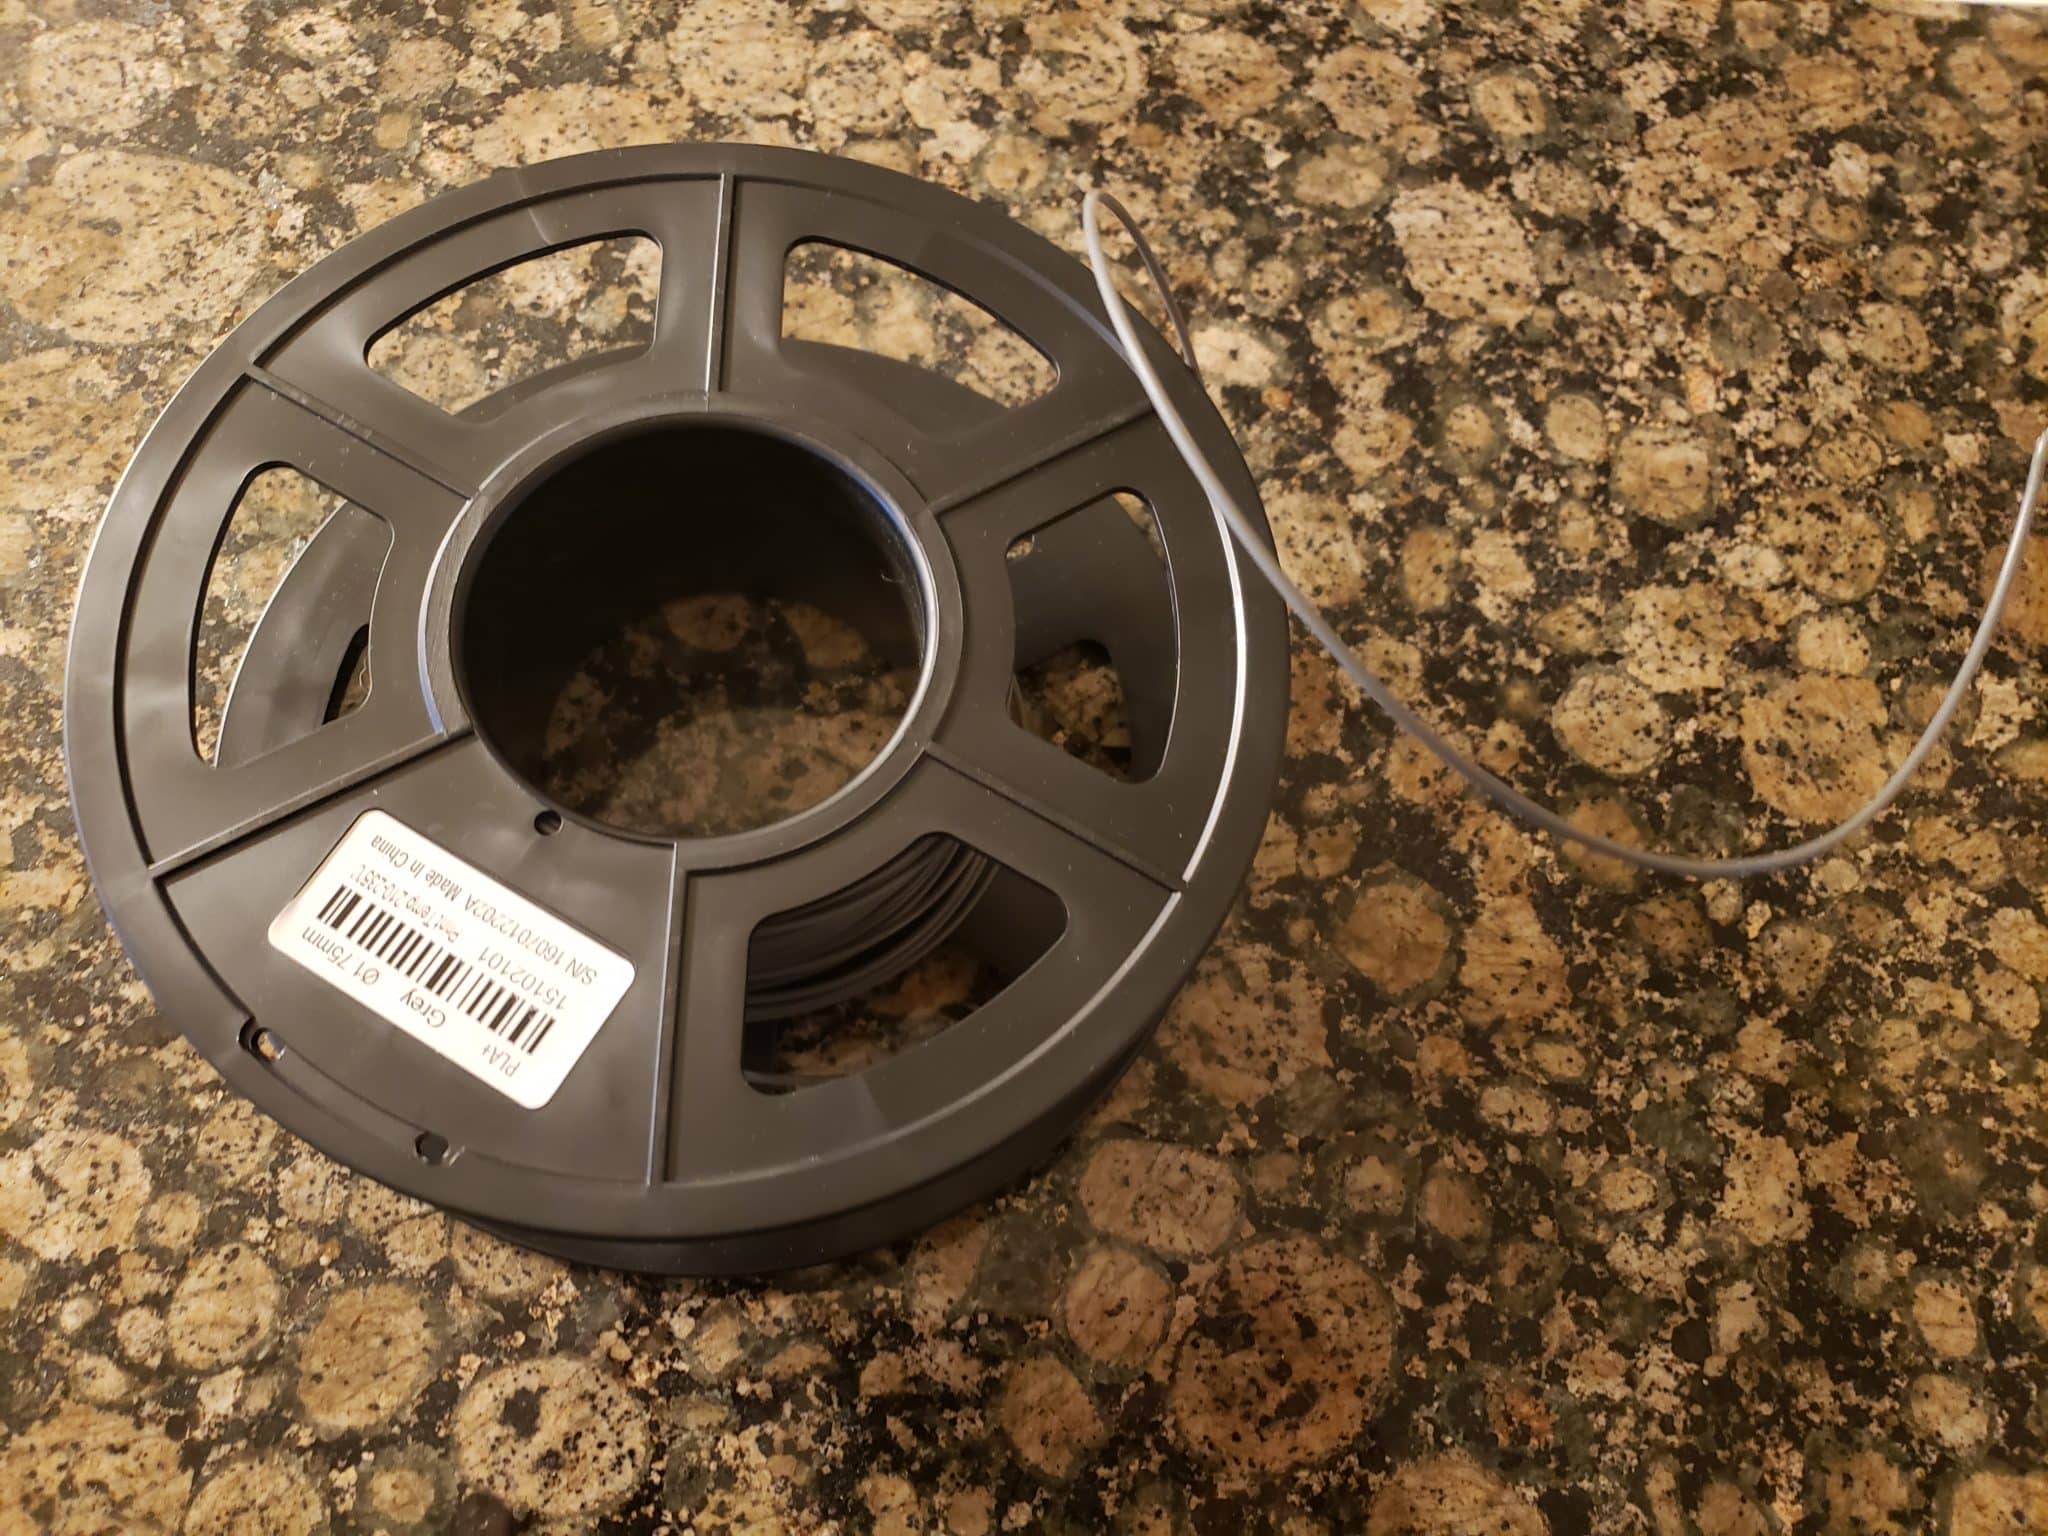
- Don’t throw away the filament if there is still some remaining. You can still use it for smaller jobs you get in the future. To store them, simply place the end of the filament into one of the holes in the spool. Small note for long periods of storage you may want to look into a filament storage bag. This will prevent moisture from ruining your filament
Step 2 – Bringing in the new filament
After the previous step, you have now freed the extruder nozzle allowing the new material to be added.
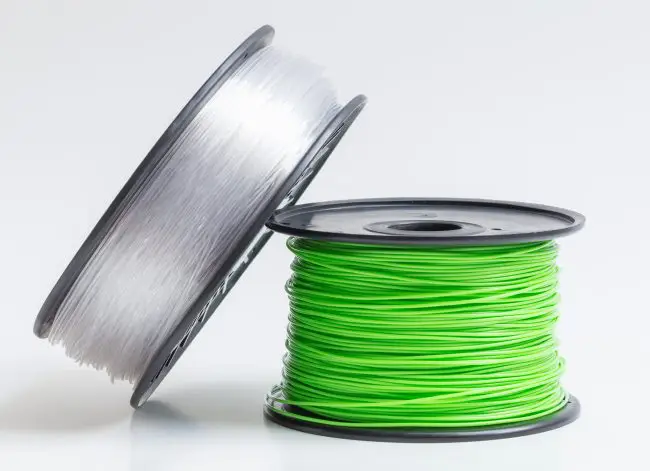
- Once you get your new filament out you need to cut the end of it so that you are able to easily feed the filament into the extruder of the 3D printer. The ender series comes with blue cutters specifically for this task.
- The next step of the process is to begin inserting the new filament into the extruder. Now, you need to be careful in this step. If you are too rough with it, the material on the filament coil will come off, making it much harder to change filament.
- Try to keep a light touch and keep the process moving at a steady rate as you’re feeding it.
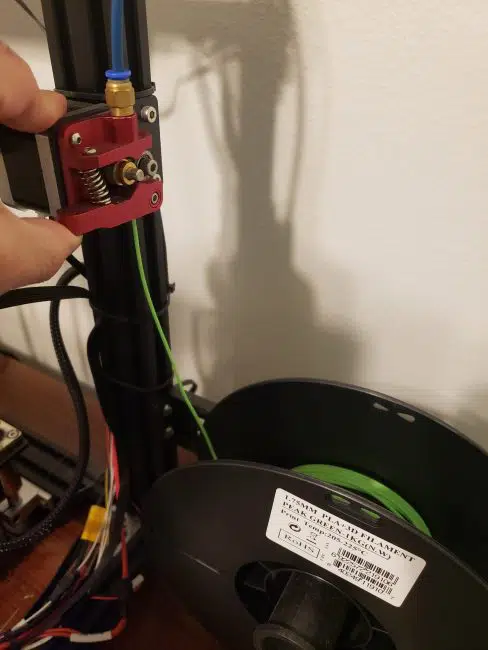
To begin feeding the filament in, press down on the extruder’s lever again and place the filament in the same spot as the previous filament. Now, keeping the level pressed, keep pushing the filament slowly until you meet some form of resistance. When you feel this resistance, you know that the filament is now close to the nozzle. Note, your hot end should still be heated up to close to 200 degrees.
Step 3 – Cleaning the nozzle first
Before you insert the filament, it is always best to check if the previous filament has been completely melted away. You don’t always want two different filaments to be mixing, so this will help purge the problem.
The first thing to note is the temperate range of both the old material and the new material. If they are different then this is what you have to do.
If the old material has a higher temperature range, then you have to set that high range on the nozzle and keep maintaining that temperature until the cleaning process is completed.
- Now that you have got the new filament into the 3D printer, you’re going to want to change the nozzle temperature in order to remove the remainder from the old filament. To do this, you need to go back to the control button and open the settings menu.
- From here, you need to click on ” Move Axis” and then click on “1 mm” or one millimeter. From there, you move to “Extruder” where you can move the extruder axis from 15mm to 20mm.
- Once you do this, the Ender 3D printer extruder will begin feeding the new filament through the nozzle. This will cause the old filament to be pushed out and will feed the new one in. Depending on the state of the nozzle, you may want to do this a few times to ensure that all the old filament is removed.
- To know when the new filament has taken over, simply watch the color of the filament that is being cleansed. Once the new color is out, you will know that it has been purged.
How to change filament mid-print?
The Ender 3 series including the Ender 3 Pro and Ender 3 V2 3D printers are great, but they have one drawback – they are not able to print more than one filament at a time. As such, if you want to print using multiple colors or materials, you could instead do a mid-print switch of the filament.
This way you could switch out to a different filament, allowing you to use multiple colors and materials. When printing with this method, you will not notice any color mixing or gradients that form because you switched filaments. Instead, there will be a noticeable difference in the colors.
Also, note that is only a temporary measure as the Ender series is not able to handle multiple filaments. For this purpose, you would be better off purchasing another solution that can handle that feature rather than using the current methods of changing out filament mid print.
The manual method
The manual method is the most convenient short-term method you can use when you want to include multiple filaments. However, before you set up the Ender manual changing process, there are a couple of things you need to make the process easier.
Creating the G-code script
This script is what is used in an Ender 3D printer to display what the current layer of your 3D print is on the screen. By doing this, you are able to constantly monitor what’s happening inside the printer, thus making sure it can handle the change of filaments.
Here’s what you need to do to create the G-code script:
Log on to the Cura system and click on “Extensions”. From that menu, click on “Post Processing”
Then click on “Modify G-code”. In the accompanying box, select “Add a script”.
Once on this screen, select the option “Display Filename and Layer on LCD.” In this option, you need to look for “Initial Layer Number”, and if it is not set already, make it “0”.
Identifying when to make the switch
With this step, you will be able to identify the layer number during which you should make the filament switch. This will come in handy towards the end of the process. To do this:
Again, log on to the Cura system and select the profile that is your slicer. First, slice the model and then click on “Preview>Layer View> View Type”.
Using the slider on the right, find the layer during which you want to make the switch and note it down!
Switching the filaments
Once you have completed both of these steps, let’s move on to the next Ender 3 change filament step. Remember, the following steps need to be done quickly.
Once you have begun printing, keep an eye on the layers of the print. Once it is close to the layer you want, start on the following steps:
- The first step is to pause the print on your Ender 3D printing device. Then set the nozzle temperature to the higher value of the two materials you are using.
- Remove the filament and replace it with the new filament using the same process mentioned above.
- Once you have entered the filament, begin the 3D printing again from where you stopped.
- Keep checking the print to make sure it is printing well. If the layers start to shift, cancel it and restart the Ender 3D printing process.
Recommended Reading
The Best Methods for PLA Smoothing
There are four main methods for smoothing 3D prints that we most often use, and these are also the ones that we recommend to our readers.
Extruder Calibration – is it Worth it?
You might think it's a hassle to do extruder calibrations. But what if we tell you this process has vital benefits for your printing performance?
PETG vs PLA Filament: What’s the Difference?
What are the main advantages and disadvantages when it comes to PETG vs PLA filament? Let's jump into it!!
Direct Vs Bowden Extruder. Which Is Better?
Extruders are one of the most important elements of a 3D printer. There are two types of extruders that we’ll be looking at, Direct and Bowden.
What’s The Difference Between PLA Vs PLA+ (PLA Plus)?
let's look in more detail at the PLA filament type in this article and how it compares up to PLA+, the supposedly new and enhanced filament.
3D Printing Service, is it Worth it?
What is a 3D Printing Service? 3D printing services serve the purpose of helping you print anything that you like with professional input.