 by Jake |
Last Updated: June 23, 2021
by Jake |
Last Updated: June 23, 2021 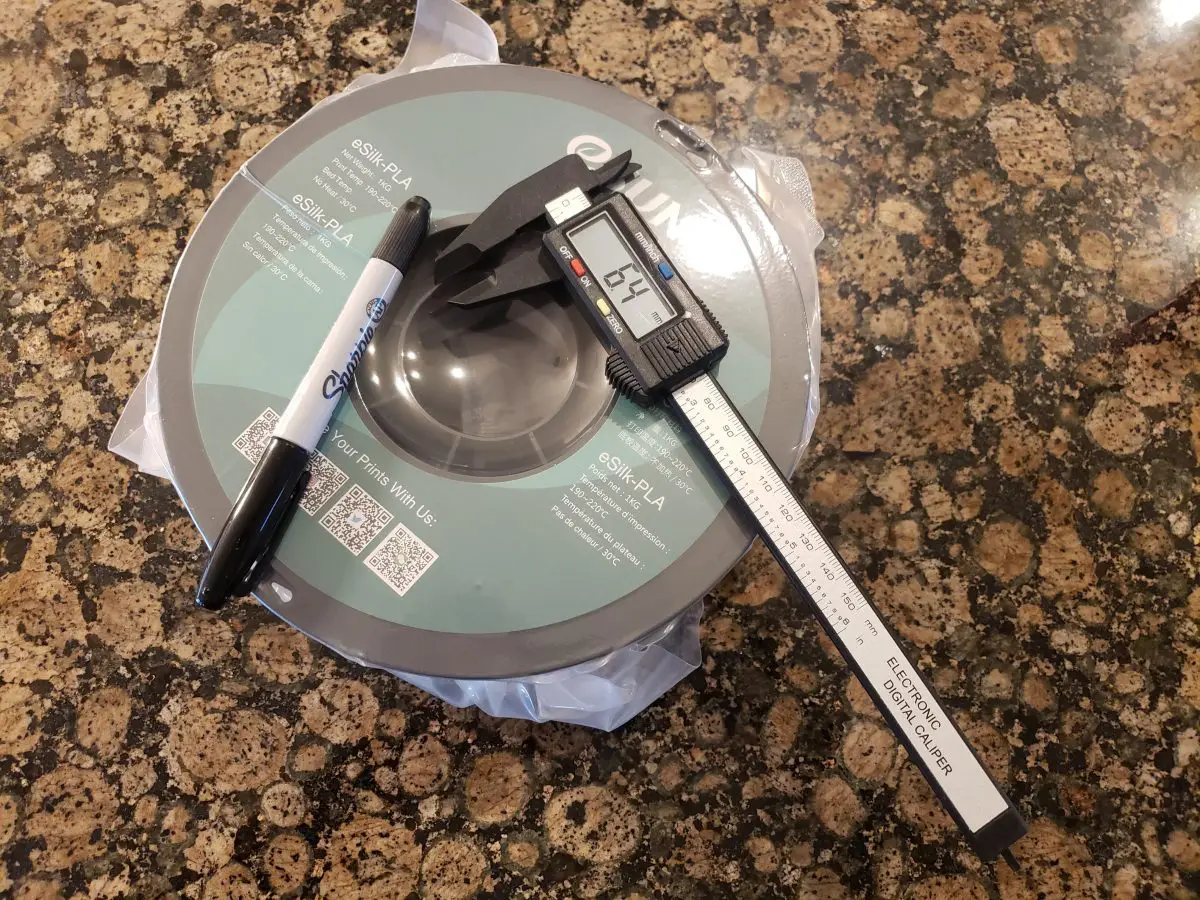
3D printers are powerful devices. They can serve professionals but also be incredibly fun for amateurs. Maintenance is crucial to ensure these products work the way they should. An integral part of maintaining your 3D printer is extruder calibration.
Without it, you’re sure to experience under or over extrusion when 3D printing. An extruder is a component that determines how much filament the device will use during an action. If you do the calculations right, it will deliver optimal performance. The process is easy to understand but takes a bit of time and effort. Here is what you should know about calibrating extruder parts of your 3D printers!
Why Would You Calibrate Your Extruder?
A better question is why wouldn’t you want a calibrated extruder? You might think it’s a hassle to do an extruder calibration test. But what if we tell you this process comes with vital benefits for your device’s performance?
Here are the main advantages of the calibration process:
- Always use the required filament amount: 3D printers will often use too much filament. The experts describe this as over-intrusion. However, it could also happen that the device uses less filament, which is under-intrusion. You’ll achieve the best results by avoiding both.
- Improve printing results: An optimal filament use will ensure there are no layer gaps. You’ll also avoid issues like stringing, blobs, or blurriness.
- Minimized risk of jamming: If the printer uses too much filament, that could cause clogging. If you use the right compound amount, you reduce the risk of anything going wrong.
What Do You Need for a 3D Printer Extruder Calibration?
Before you start a project, it’s necessary to prepare the required equipment. As for extrusion calibration, you’ll need several things.
Here are the items you should secure:
- Computer software. You can’t do extruder calibrations without the right tool. The most commonly used option is Pronterface. However, you can also use Octoprint, Repetier Host, or another suitable alternative. First, make sure you understand the program’s basics.
- Connection to your PC. You’ll need a computer or laptop with the installed software. Additionally, it would be best if you secured a connection to that device. That could be Wi-Fi or a USB cable. Most printers support the latter, but not all allow Wi-Fi connections.
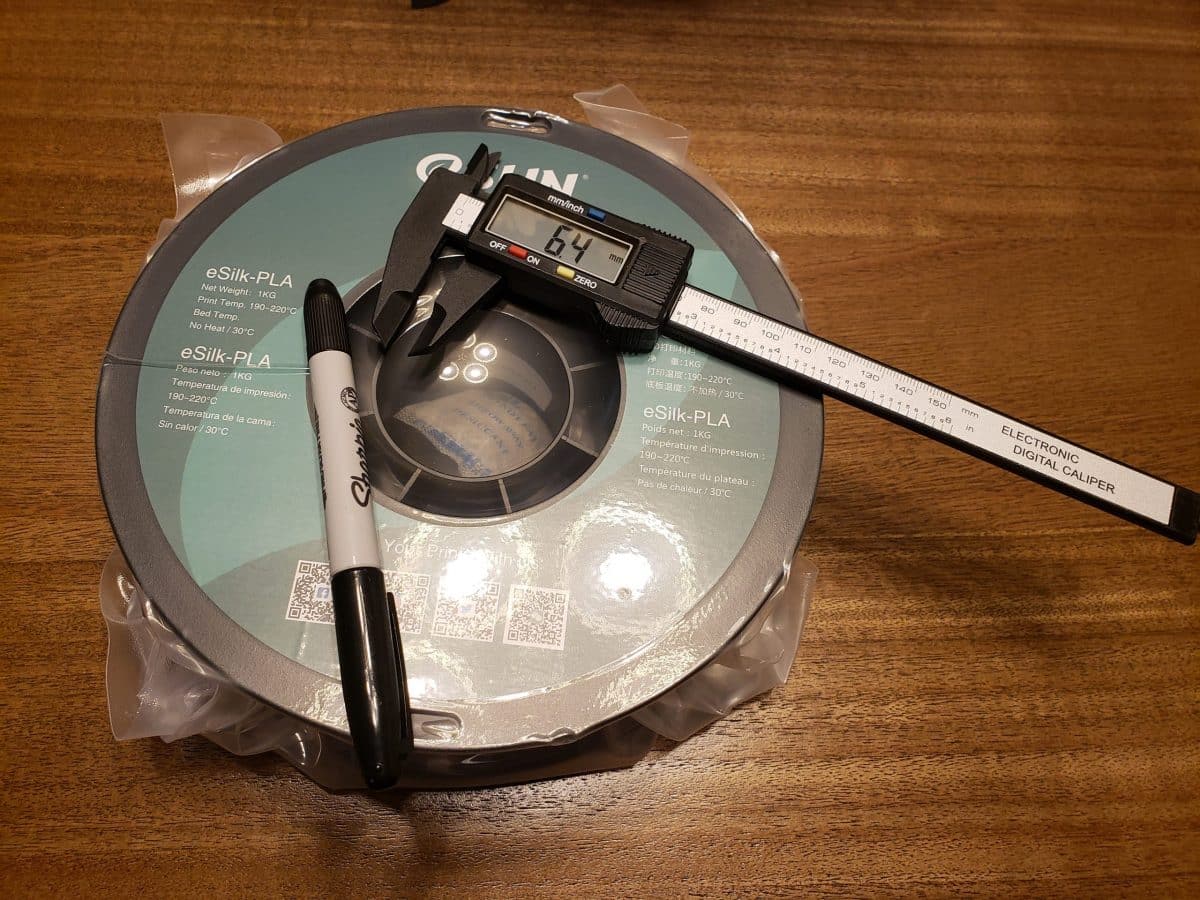
- Pen or marker. It would be best if you had it to mark the required positions during the process. Try to use a high-quality option that doesn’t get erased easily.
- Measuring ruler / Digital Calipers. You’ll perform some measurements while calibrating your extruder. The ruler doesn’t have to be longer than 200mm.
Finally, make sure you have sufficient time for this project. Again, it would be best if you didn’t rush because it’s imperative to do things right.
A Step by Step Guide on How to Calibrate 3D Printer Extruder
We can separate the entire process into two categories. They include adjusting steps/mm measurements and setting the extrusion multiplier. If you have the equipment ready, here are the calibration steps!
Step 1: Mark the Reference Point
Identify the position where the filament enters the device. From here, measure 120 millimeters of the material. Use the pen to mark this spot. It’s the initial position. Some people use 200 millimeters as they believe it’s more accurate. However, as long as you do the measurements right, the result will be optimal.
Step 2: Turn on the Hot-End
The next in line of calibrating extruder steps is to activate the hot-end. Again, the component should achieve the standard temperature required for printing. Another thing to check is the position of the nozzle. It should be on top of the base. The position should ensure an obstacle-free filament extrusion.
Step 3: Launch Computer Software
It’s time to launch your extruder calibration software. The initial task is to ensure the connection works. Once you open the app, you should notice the option to issue the commands to your printer.
Now, the actual process depends on the software used. Simplify3D requires heading to the control panel of the machine. Your goal is to find the app’s section focused on tethered printing. We’ll assume you already know how to use the program if you have a 3D printer. If not, make sure to invest some time in figuring out how the software works. It will ensure you get the most of your printer every time you use it.
Step 4: Issue the Commands
It’s now time to use the software. Here is what you should command the device:
“M83”
This command signals the printer to enter the relative mode. That’s important for the rest of the process to work.
Your next task is to adjust the federate of your extrusion. Use this command:
“G1 F50”
This command will adjust the federate to 50 millimeters per minute.
Step 5: It’s Extrusion Time!
This is the final step of the measuring process when learning how to calibrate a 3D printer extruder. Your first move is to issue the command of extruding some plastic.
Use this command:
“G1 E100”
The machine will extrude 100 millimeters of the material. It will take patience since the process requires a couple of minutes. However, there’s a reason why you don’t want to rush things. The plastic resistance should affect the feeding quantity in the stepper motor. Additionally, the temperature won’t be a part of the extruder calibration equation.
After the process finishes, deactivate the hot-end heater. Now, use the ruler to check the distance from the initial position to where the material accessed the extruder.
The distance should be 20 millimeters. If that’s the measurement you made, there’s no need to continue with the process. However, any other results indicate that your extruder requires additional calibration. That means you should continue with the steps listed below!
Step 6: Figure out the New Steps/MM Requirement
Your next task becomes to determine the steps/mm value that your printer requires. This requires some math, but don’t worry!
The calculation is easy, but we should determine the current steps/mm value first. You can discover this by issuing the “M503” command. The printer has a permanent EEPROM space where it stores information on various existing values. That includes the steps/mm, but you’ll see multiple values.
You’ll only need the E value for E-steps calibration. You’ll find it in the first few lines, and here is how it will look:
“Echo: M92 X100.00 Y100.00 Z400.00 E163.2”
So, you write down 163.2.
Step 7: Discover the Plastic the Device Really
Remember how you measured the distance between the initial position and the location where the plastic accessed the component? If yes, now is time to calculate how much material the printer used.
Your initial position is 120 millimeters. Let’s say that the distance you measured was 28 millimeters. That’s how much it was left. That means the extruder used 120-28=92 millimeters.
This indicates a problem – the device used 8% less of the material than we wanted. Fortunately, we can fix this, and you’ll discover how below!
Step 8: Let’s Do Some Math!
It’s time to calculate the correction extrusion multiplier. In our example, here is the equation:
100/92=1.086
Our correction extrusion multiplier is “1.086.” You calculate this by dividing the desired use of the material and the actual use the printer had.
Now, let’s move to the estep calibration. First, you want to multiply the current value of the steps/mm value with this multiplier.
So you might be wondering how do you calibrate e steps? It’s not hard at all, don’t be worried! Just follow along slowly and don’t rush through it.
The following equation in our example is:
1.086*163.2=177.23
That’s it! That’s how you calculate your extrusion multiplier. Continue on for saving this onto your software.
Step 9: Save the New Value in Your Software
We now have the new Esteps Calibration. The only thing remaining is to save it in our software. For example, you can use the following command:
“M92 E177.2”
As you might assume, you should replace the “177.2” part with the value you calculated in the previous step. You’ll receive a confirmation that the settings are memorized after issuing the command.
Would you like to check if everything works fine? That’s easy; use the ruler to mark a new piece of filament. Execute the command on printing 100mm and see if it uses exactly that much material.
Extruder Calibration Final Notes
You finished the extruder calibration process successfully; congratulations! You now have a calibrated extruder! If you notice your 3D printer uses too much or too little filament, don’t hesitate to re-calibrate it when necessary to maximize your 3D printing results.
Here are some tips to help in the process:
- You don’t have to use 120 millimeters as the starting position. We only used it as an example that proved to have the desired accuracy level while not wasting too much material.
- Don’t change the filament pressure after completing the calibration. If you need to adjust the lever on your extruder, do it before you calibrate it. Any change could affect the device’s performance.
- There’s an alternative to issuing the command for storing the new E value. You can add the calculated measurement in the gcode. Then, the software will load those values whenever it requests printing.
Did you perform several extruder calibration tests and didn’t achieve optimal filament use? It might be wise to change your filament. Try to find an alternative that fits your device better.
Finally, allow us to remind you that optimizing your 3D printer’s performance secures many benefits through extruder calibration testing. First, you’ll avoid any blobs, warping, and other issues. Second, apart from enjoying high-quality results, maintenance prolongs the device’s lifespan. Finally, if you take good care of your equipment, it will serve you well as long as possible!
Recommended Reading
3d Printing With Hatchbox Wood Filament – Should You Buy It?
Hatchbox wood filament is an excellent 3D printing material that you should try out at some stage in your 3D printing career. Check out what it has to offer
Direct Vs Bowden Extruder. Which Is Better?
Extruders are one of the most important elements of a 3D printer. There are two types of extruders that we’ll be looking at, Direct and Bowden.
PETG vs PLA Filament: What’s the Difference?
What are the main advantages and disadvantages when it comes to PETG vs PLA filament? Let's jump into it!!
What’s The Difference Between PLA Vs PLA+ (PLA Plus)?
let's look in more detail at the PLA filament type in this article and how it compares up to PLA+, the supposedly new and enhanced filament.
The Best Methods for PLA Smoothing
There are four main methods for smoothing 3D prints that we most often use, and these are also the ones that we recommend to our readers.
3D Printing Service, is it Worth it?
What is a 3D Printing Service? 3D printing services serve the purpose of helping you print anything that you like with professional input.